EduRoam ON fbk wIRED nETWORK
Users with FBK credentials can use wired FBK network with their private computer. To do so, you need to enable 802.1X authentication. Please see below the instructions for all major operating systems.
Note: the wired network is reserved to users with FBK credentials.
Windows
Firstly, you must have administrative privileges to perform these steps. As first step, you must enable the Wired AutoConfig service, which is turned off by default.
- Start the Services management from the command prompt by typing:
services.msc
If you are prompted for an administrator password or confirmation, type the password or provide confirmation.
- Search for Wired AutoConfig in the service list and double click on it.
- Set the Startup type to Automatic and click Start. Close the window by clicking on OK.
7. Click on the Authentication tab and then select Enable IEEE 802.1X authentication and Fallback to unauthorized network access. From the network authentication dropdown list, choose Microsoft: Protected EAP (PEAP).
Note: If you choose Remember my credentials for this connection each time I’m logged on you will not be asked to provide username and password every time you connect to the network. Proceed by clicking on Settings.
Select Specify authentication mode and then choose User authentication from the dropdown list. Click Save credentials.
A login window will pop up prompting you to provide your username and password.
The username format has to be as follows: username@fbkeduroam.it .
If authentication is successful, your computer will be connected to the network. The status of the connection can be verified by clicking on the network icon in the task bar.
OS X
The following instructions apply to OS X 10.9 (Mavericks) and 10.10 (Yosemite). Previous versions are not supported.
On an Ethernet network that requires 802.1X, the authentication process is started immediately after connecting the network cable to the Mac Ethernet port. After a while you will be prompted to enter your authentication information.
The username format has to be as follows: username@fbkeduroam.it .
If the authentication is successful, your computer will be connected to the network.
Note: Certificate warnings that could pop up can be safely ignored.
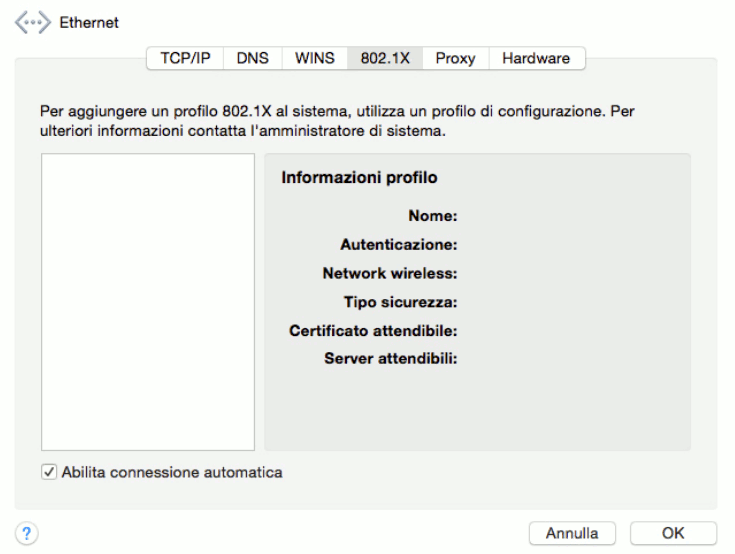
Warning: for the authentication process to start automatically, the Enable automatic connection option (in the 802.1X tab in Network preferences for the Ethernet interface) must be checked.

Ubuntu e NetworkManager
The following instructions apply to Ubuntu 14.04. Previous versions of Ubuntu are not supported.
- Click on the NetworkManager icon and then select Edit Connections.
- If the authentication is successful, your computer will be connected to the network.
Note: Certificate warnings that could pop up can be safely ignored.
Certificates
If the operating system does not allow to ignore the server's identity verification through certificate validation, please use this certificate.


